本文用于记录通过Hugo搭建个人博客的过程,以便后人复用,或者
步骤就这几个
hugo$\to$hugo stack$\to$GitHub Page$\to$Config
Version
这里用的版本是
- hugo v0.156.0-9d914726dee87b0e8e3d7890d660221bde372eec+extended windows/amd64 BuildDate=2026-02-18T16:39:55Z VendorInfo=gohugoio
- hugo-theme-stack-3.34.2
hugo
首先先下载Hugo:Installation
|
|
|
|
hugo-stack
hugo-stack是一个hugo-stack的模板,感觉还挺好看的。
搭建出来的效果是这样的(其实右边的目录占的位置再小一点就好了,有空可以魔改一下)

坑 先前被坑过,不要用4.0.beta!不要用4.0.beta!!不要用4.0.beta!!! 文档不太完善,而且4.0.beta版本的配置文件还有自己手搓太麻烦了。而且是一个实验版本,不建议做小白鼠。。。
Release v3.34.2 · CaiJimmy/hugo-theme-stack 可以试试这个版本,v3的还是比较稳定的
- 解压放到
<blog-name>\themes - 改名成
hugo-theme-stack,就是版本号去掉(hugo-theme-stack-3.34.2$\to$hugo-theme-stack) - 把
<blog-name>\themes\demo\hugo.yaml复制到<blog-name>,并且删掉<blog-name>\hugo.toml(删掉的是**.toml而非.yaml**) \[这里说明,根据[配置 Hugo | Hugo官方文档](https://hugo.opendocs.io/getting-started/configuration/),说明了可以支持`hugo.toml`, `hugo.yaml`, 或者 `hugo.json`\]
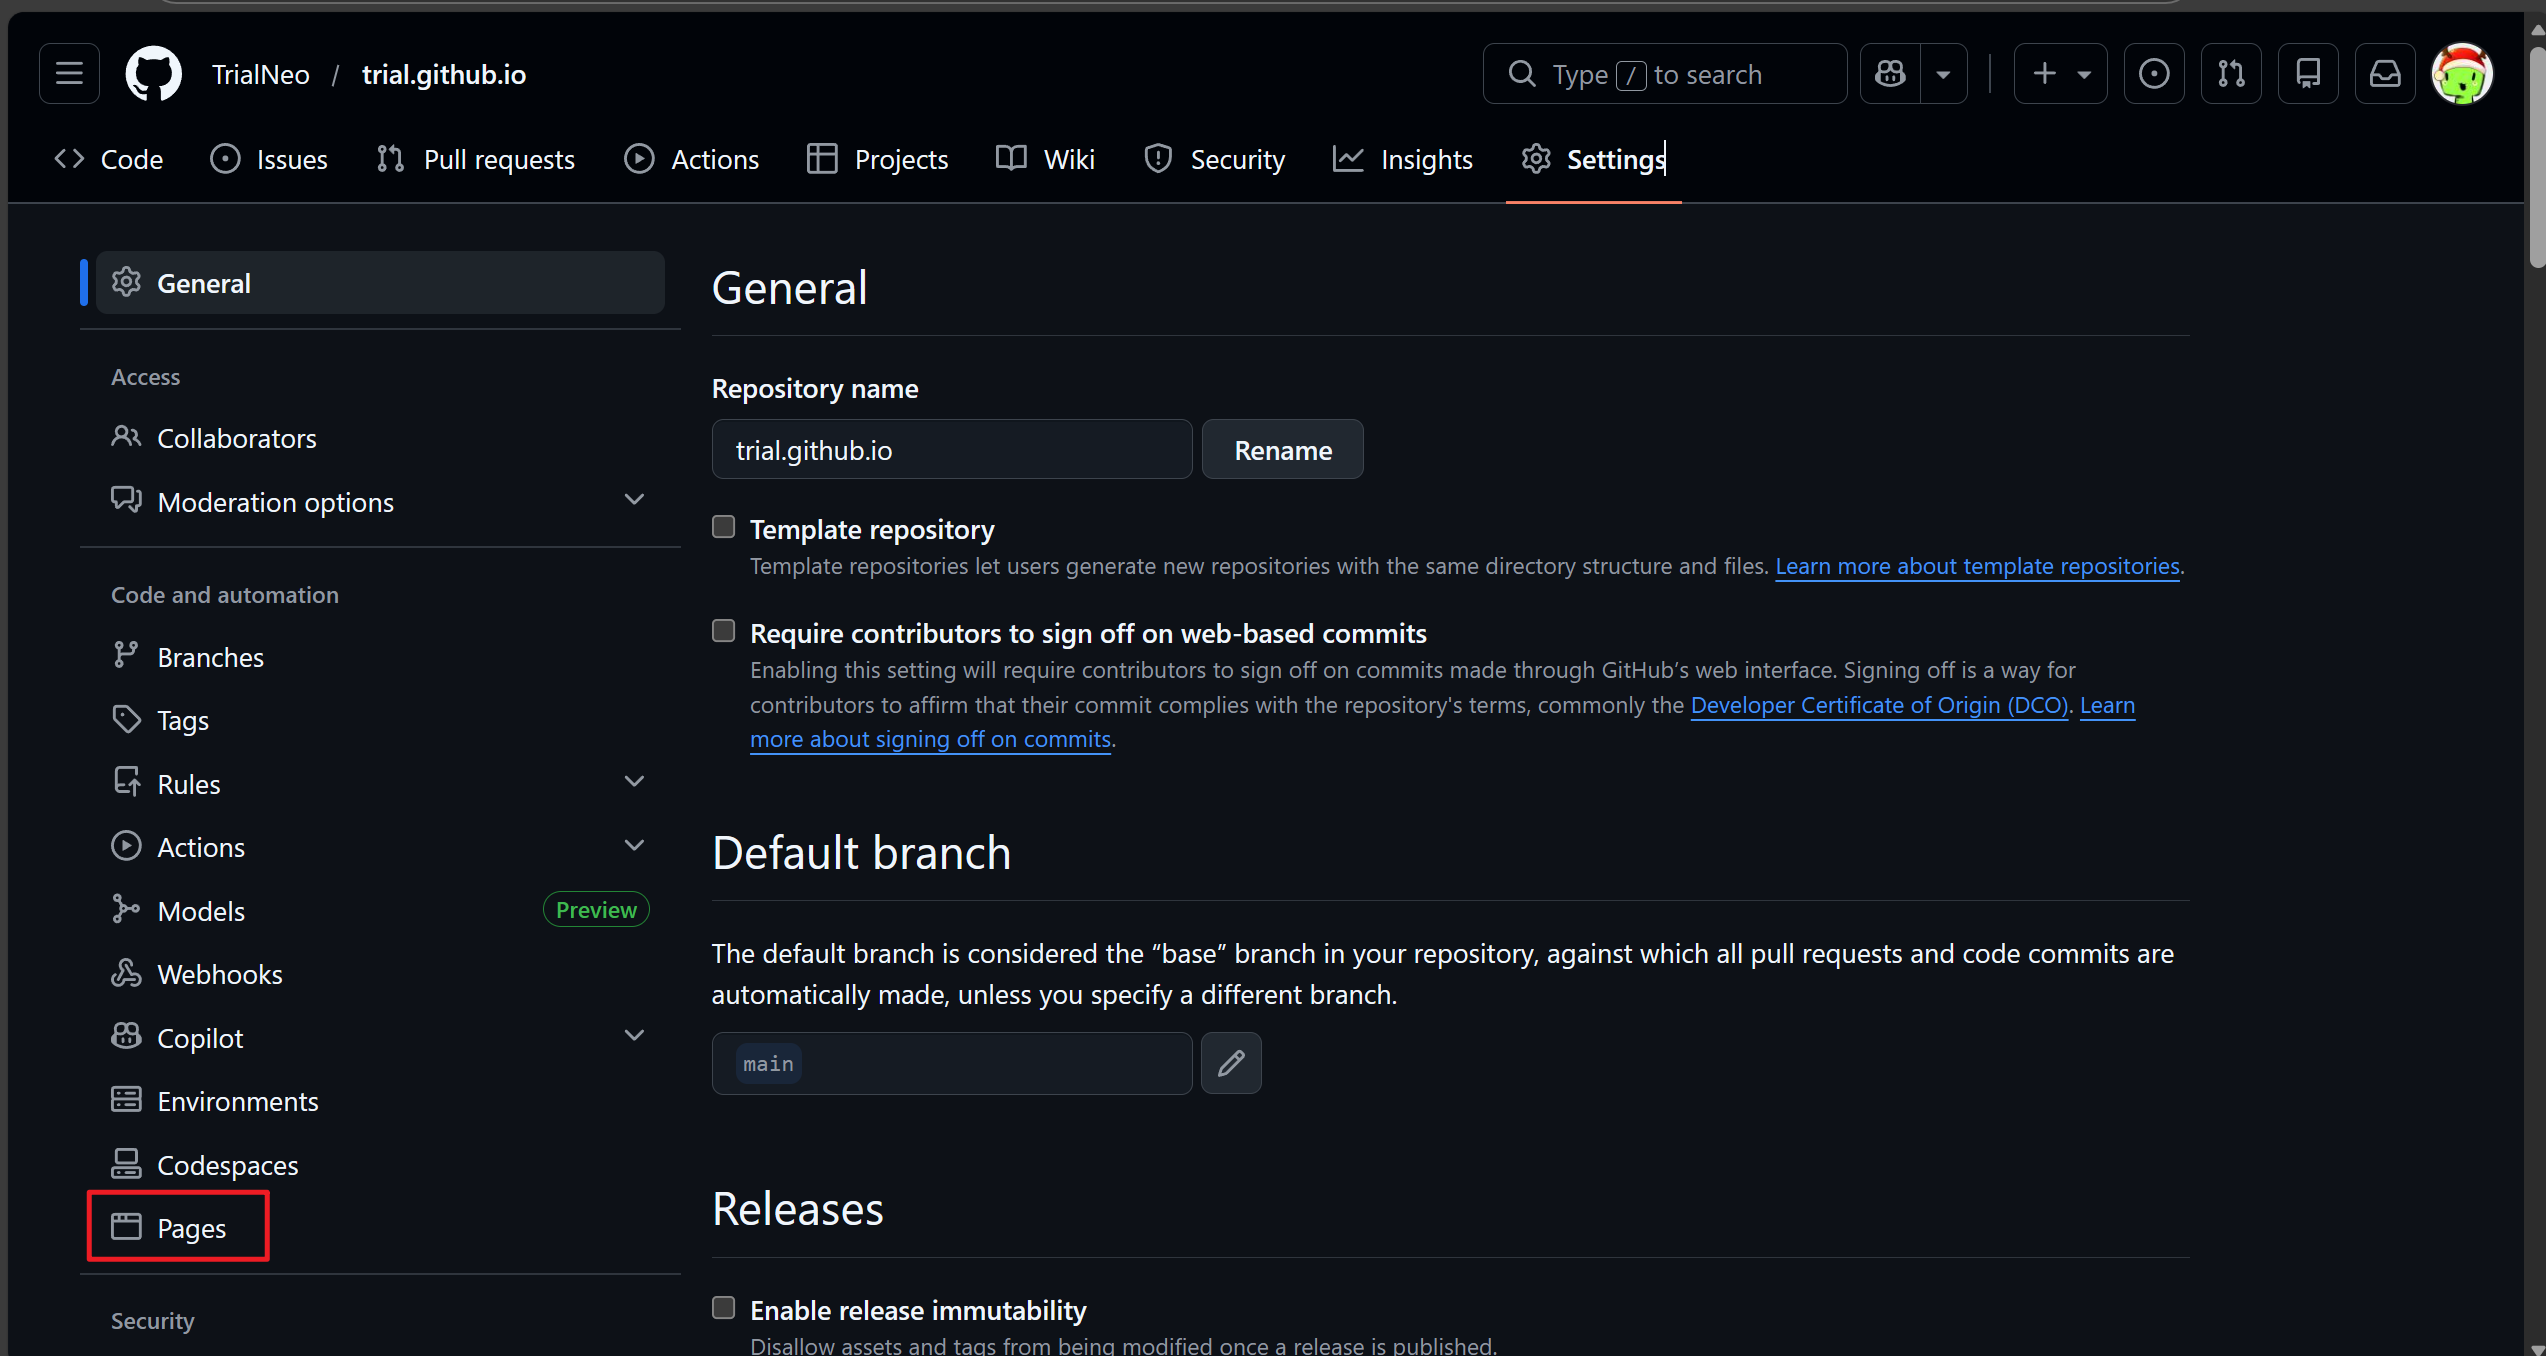
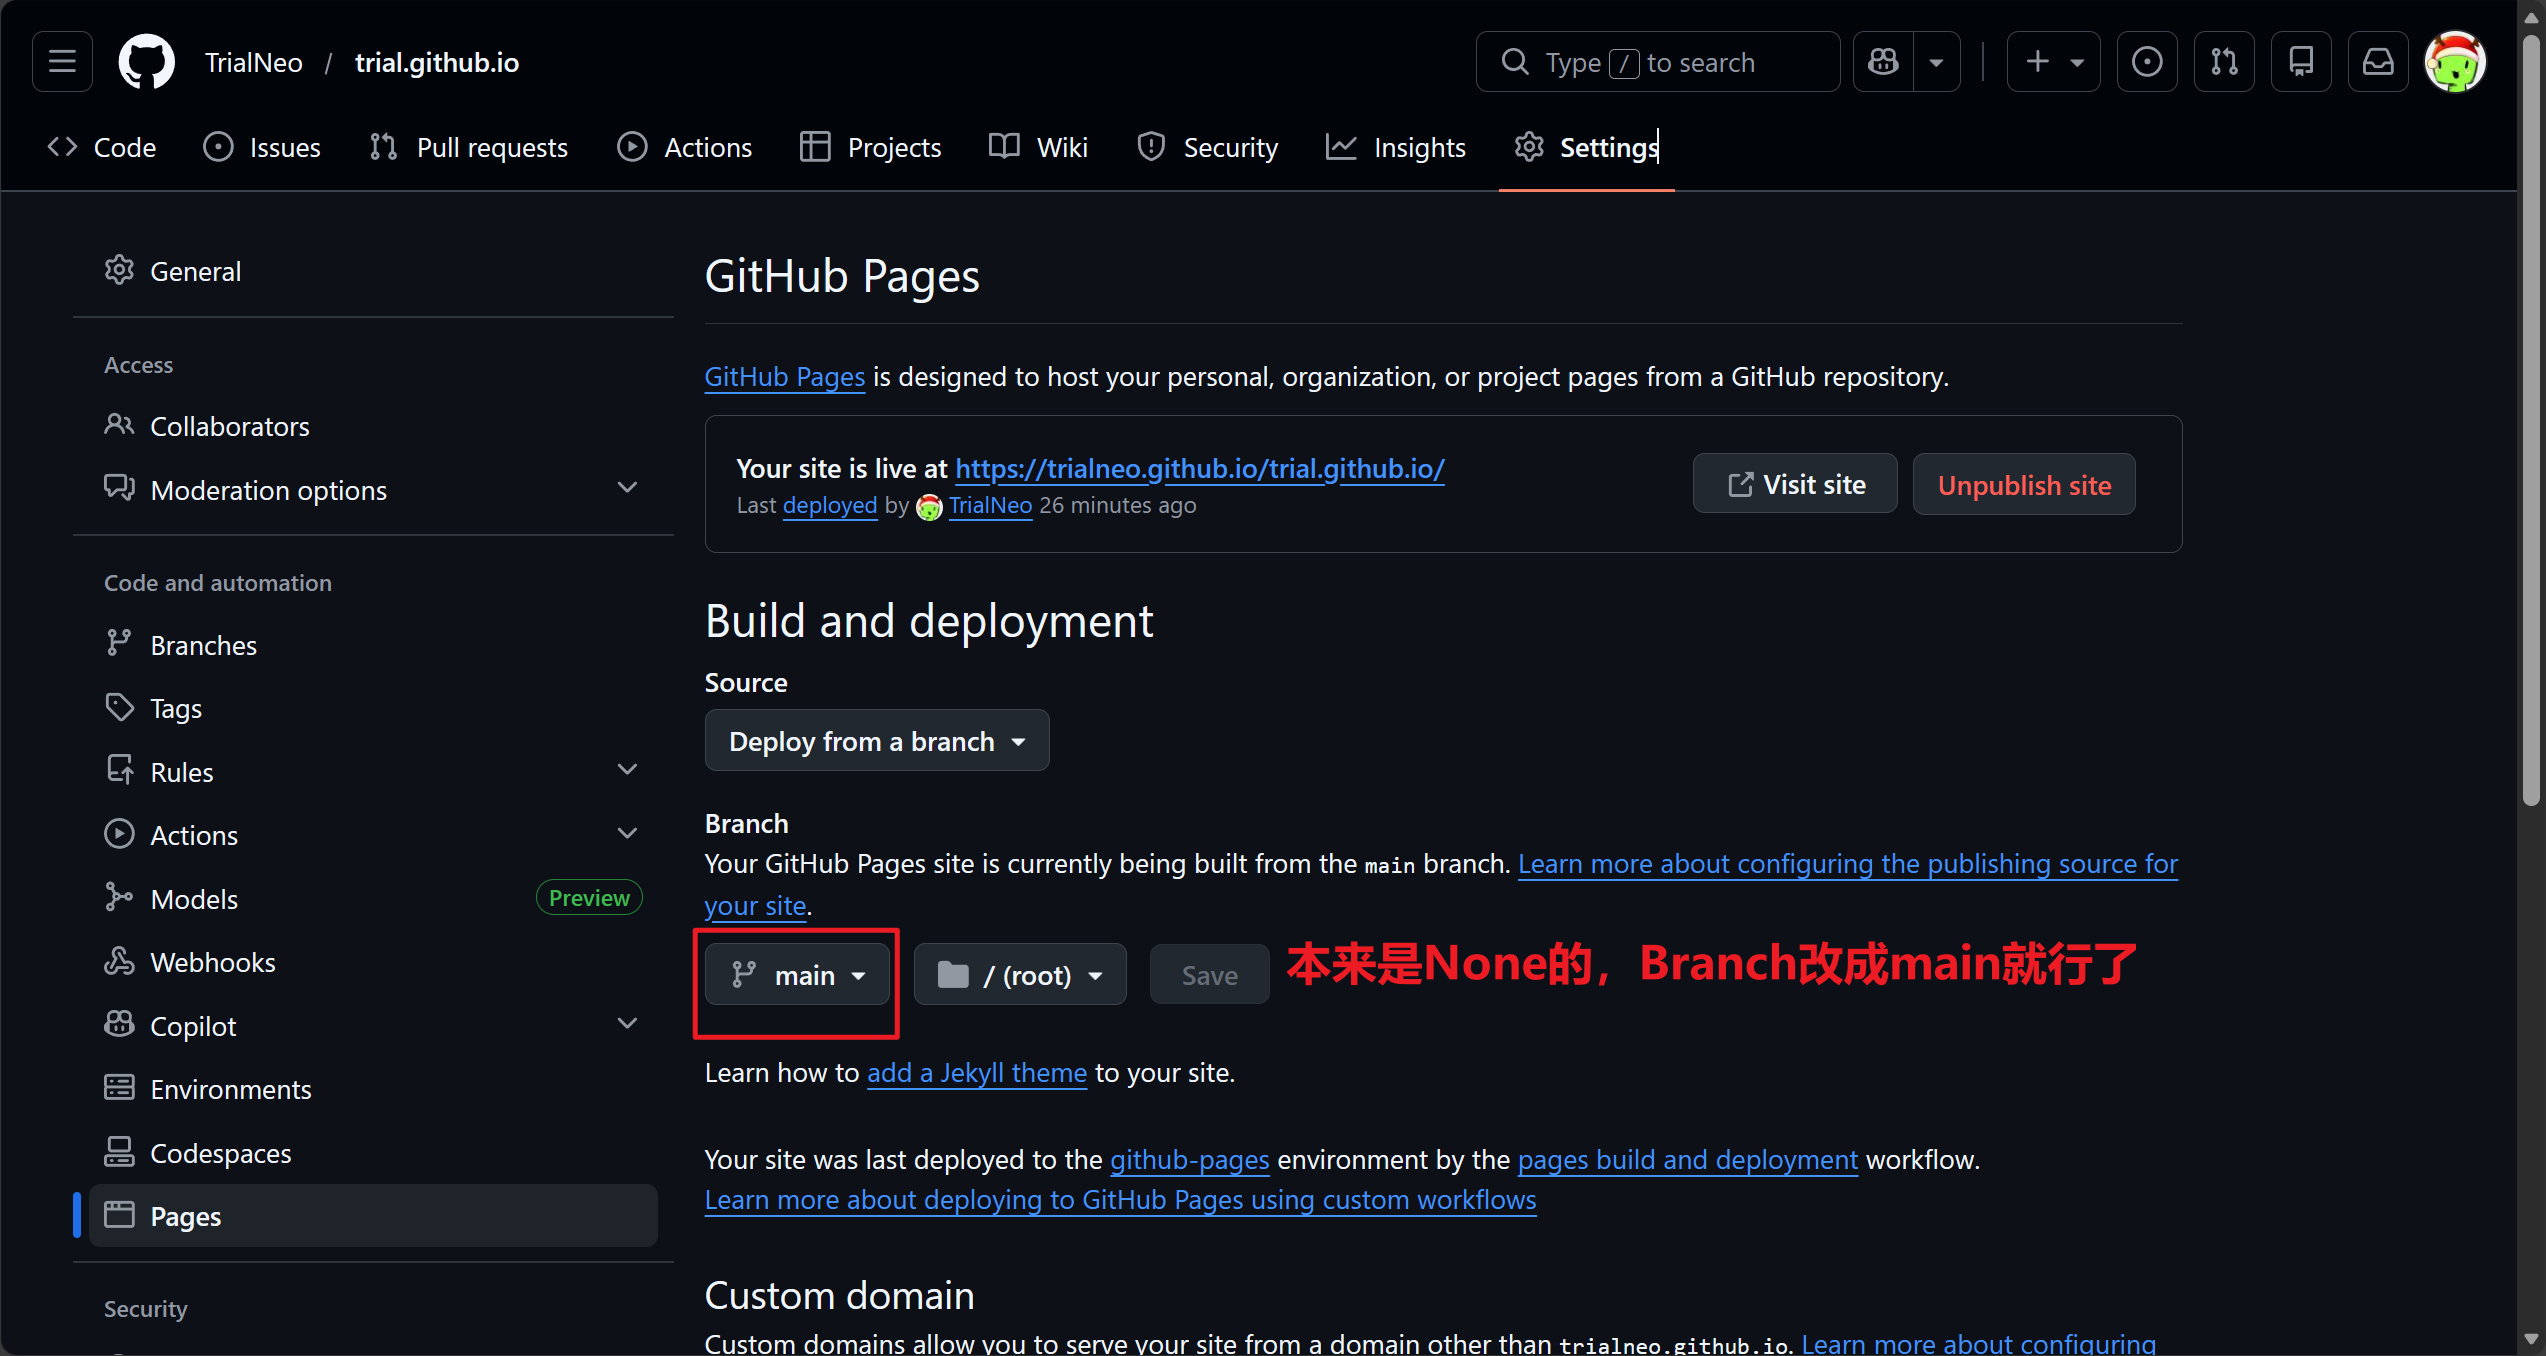
Github
写好文章之后
|
|
然后会生成一个<blog-name>\public文件,把这个文件上传到GitHub 仓库就可以了
|
|
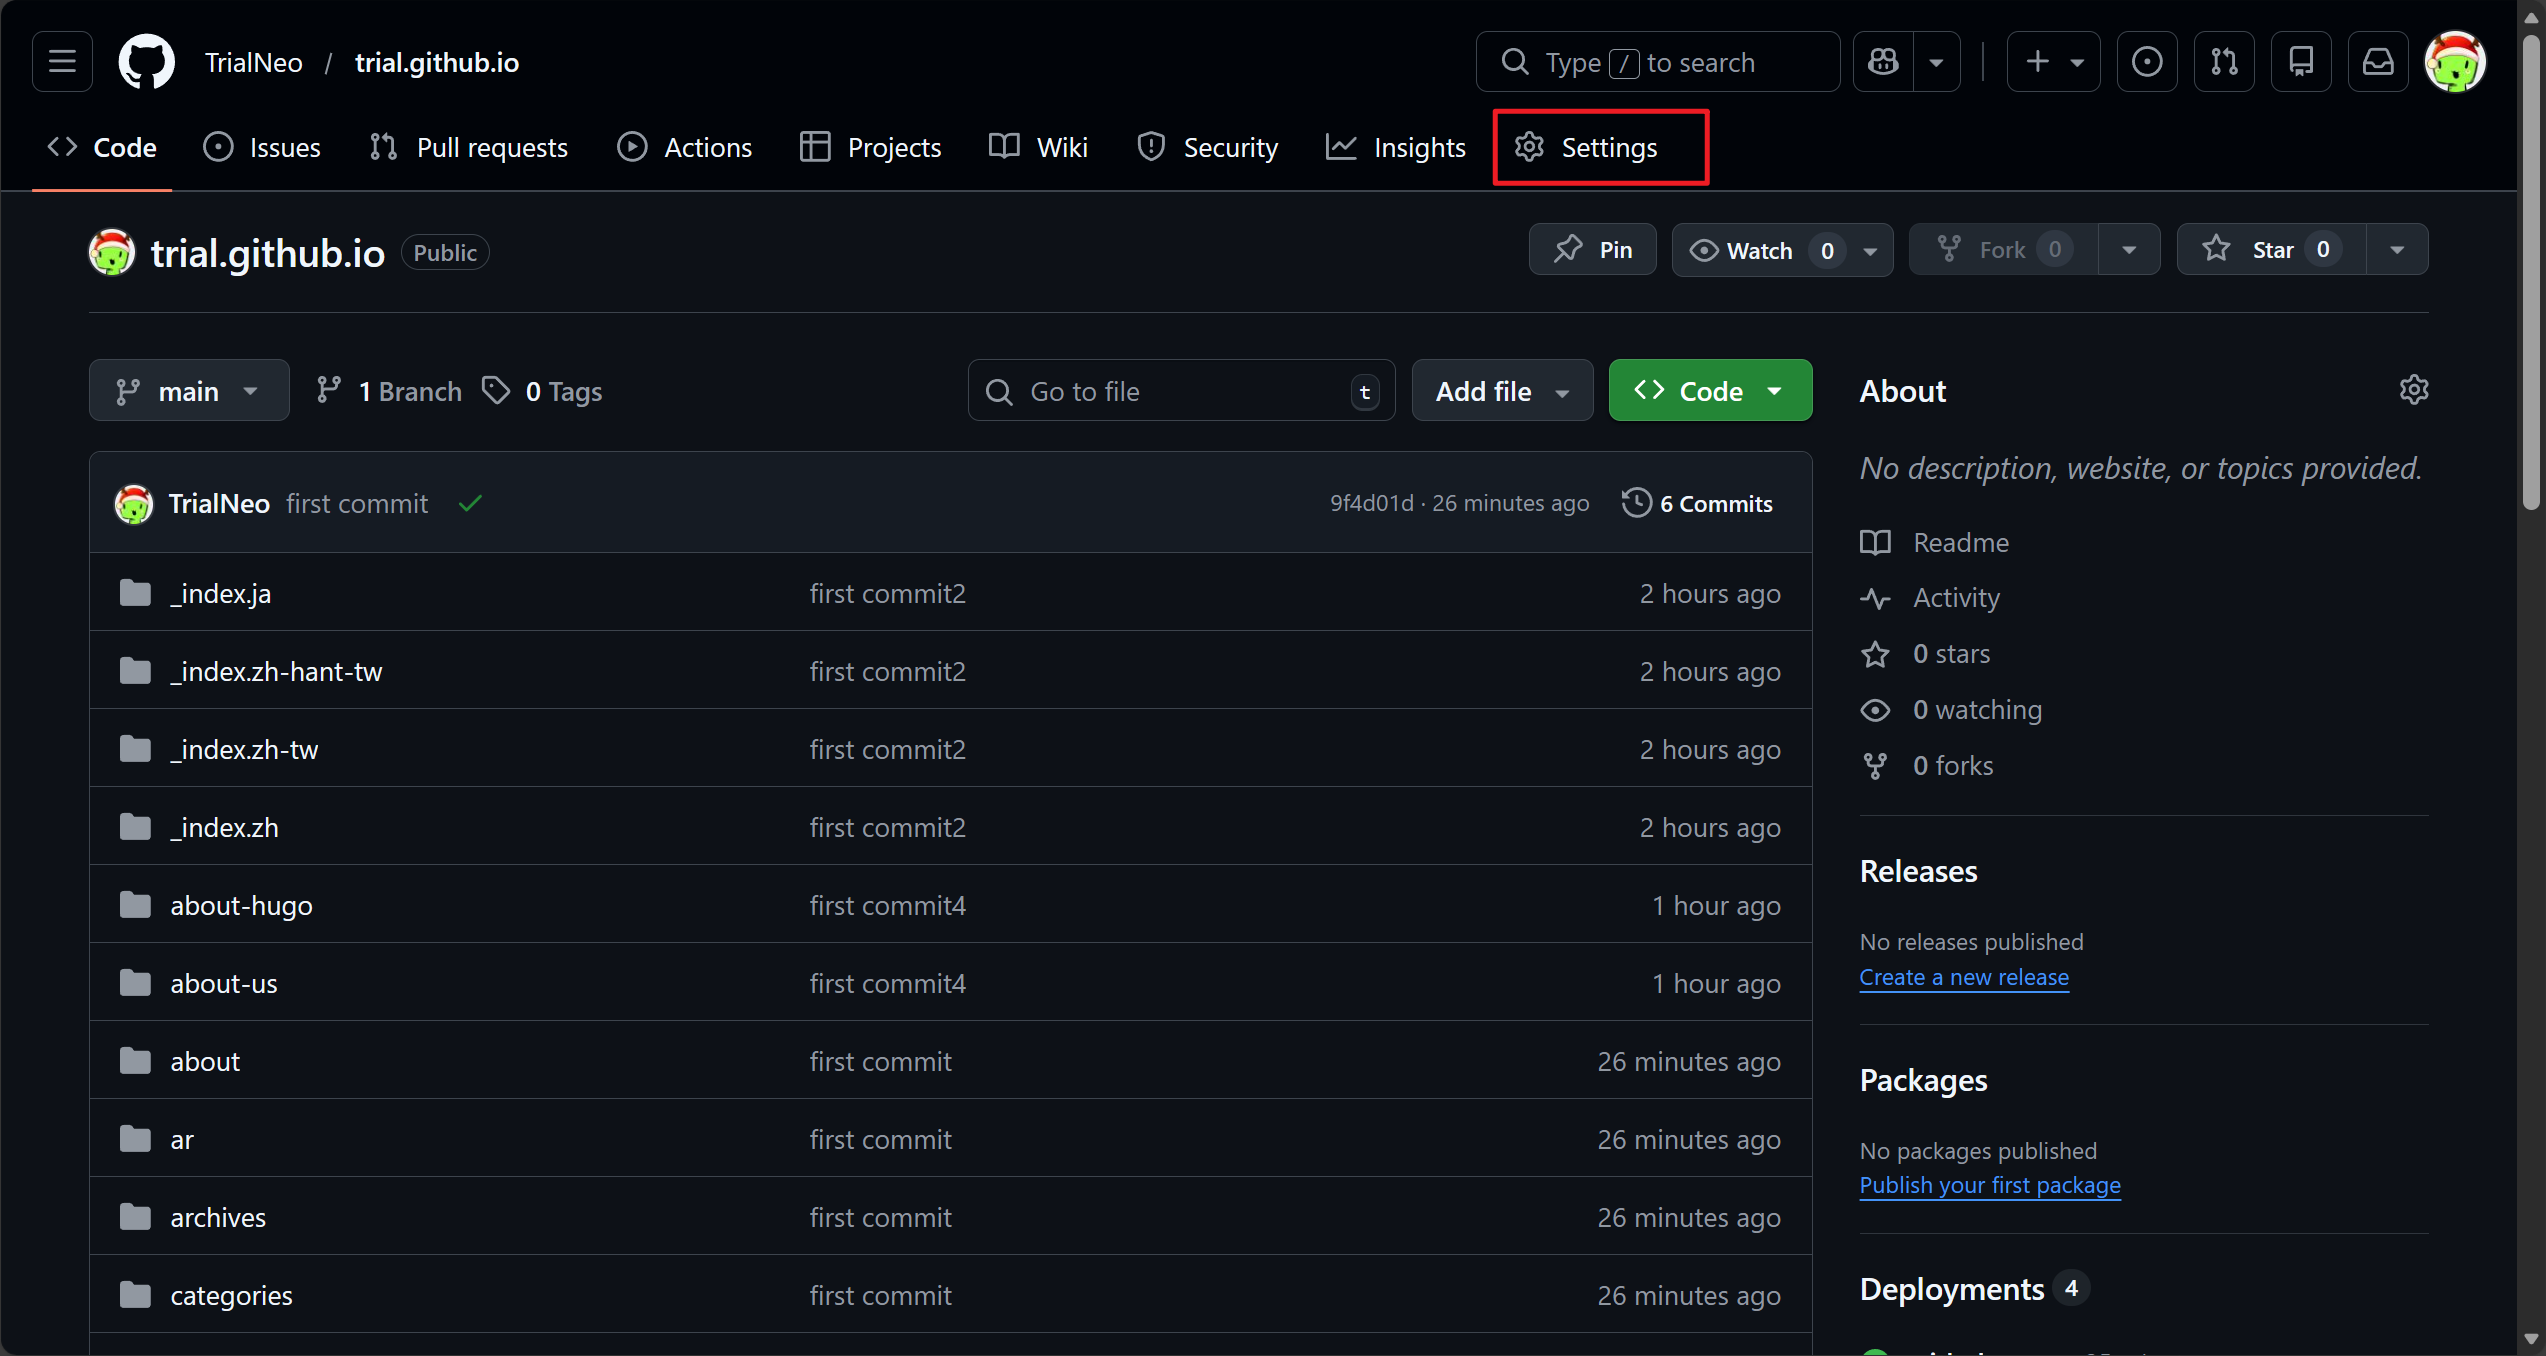
问题是有点难用,每次写好文章都要git上传。。。。
写图文也是非常麻烦的,图片部分一部分要放到static,然后markdown引用还是虚空引用,建议还是obsidian写好之后,用markdown export插件去导出,然后
|
|
手动把粘出来的attachment放到static,然后打开复制copy
|
|